Installation
RaidProtect simplifies server management with two powerful tools: the /setup command for a step-by-step guided setup and the /settings command to adjust your settings at any time through a centralized menu. This installation guide explains how to use them effectively.
Guided Installation
The /setup command is designed to help you configure RaidProtect quickly or through a detailed approach, depending on your needs.
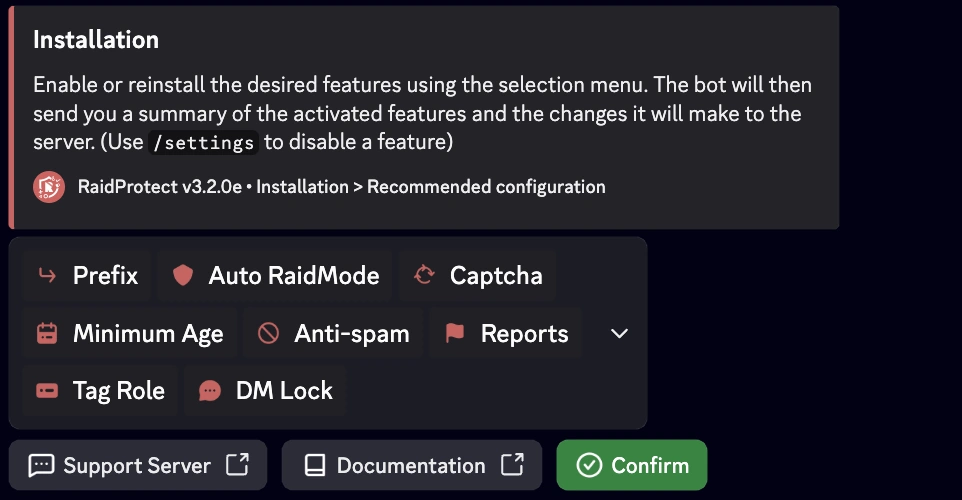
🔧 Recommended Configuration
Allows you to enable or disable core features at a glance using an interactive selection menu.
- Use the
/setupcommand. - Select the "Recommended Configuration" button.
- Enable or disable the desired features using the selection menu.
The bot will then send you a summary of the activated features and the changes it will make to the server.
Modifying the Configuration
The /settings command is the go-to command for managing your settings after installation. It allows you to view, adjust, or customize RaidProtect's features at any time, in a simple and fast way.
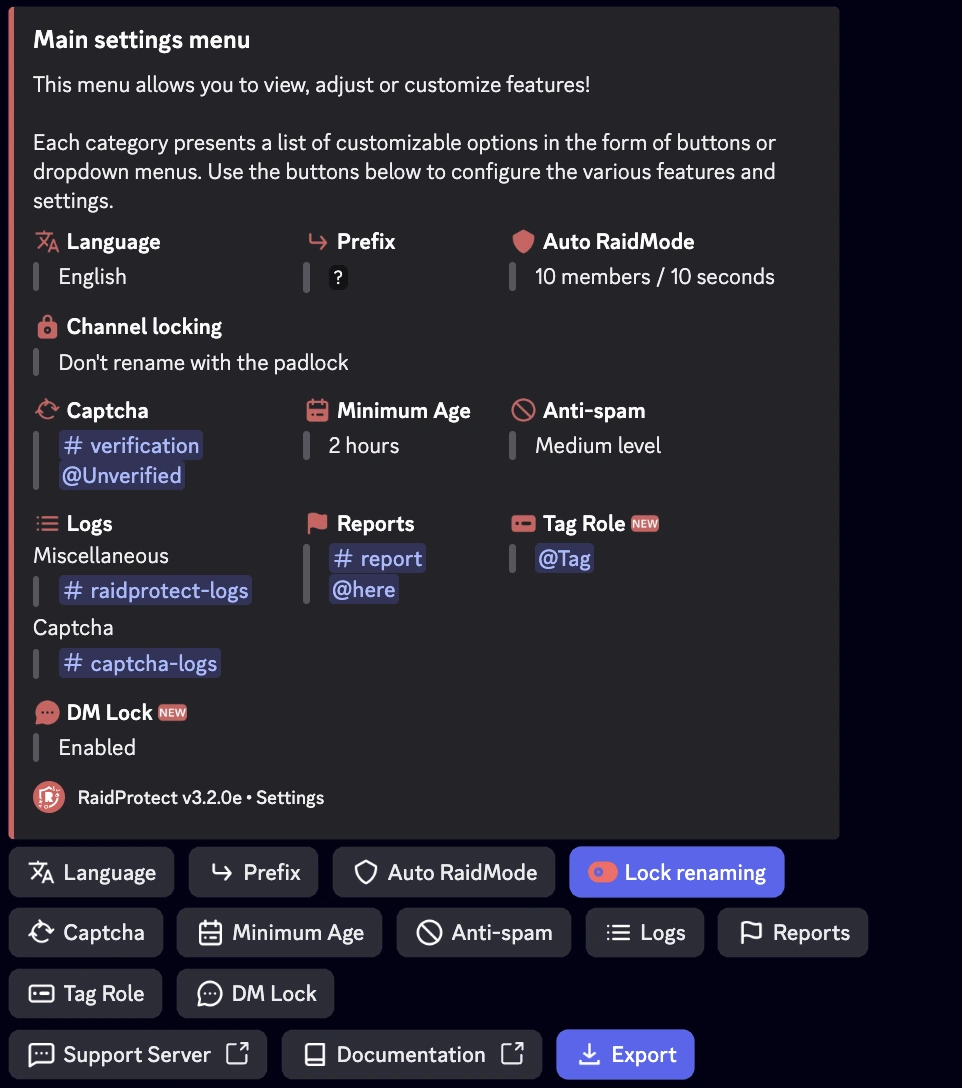
🔍 Settings Menu
- Type
/settingsin a channel where the bot is active. - Easily navigate between different sections to find the settings you want to modify.
- Adjust the options: Each category presents a list of customizable options in the form of buttons or dropdown menus.
🔄 Resetting a Setting
- Navigate to the desired setting.
- Click on "Reset".

The bot will confirm the reset before applying the changes.
If you encounter a problem, check the Malfunctions section or join our support server for assistance.